After playing with various themes and templates with the Hugo static site generator, I wanted to publish the site to see how it performed and looked on various devices. Today I am going to be using the Static Website functionality of an Azure Storage Account. In addition to it being very low cost (talking pennies if not altogether free) it has the ability to link a custom domain name to it and I can restrict access to the site via IP. I prefer to restrict access via IP so that I can share the site with friends or family easily or host more sensitive things that I only want myself to see from specific locations (think of a basic intranet website for a small company). I can also deploy the website without using a hosted repo like Azure DevOps or Gitub nor using a CI/CD Pipeline.
One(1)Caveat: If you choose to use a custom domain name, it will be http and not https. If you want https for the custom domain name on the storage account, then it has to be placed behind a CDN and the IP restrictions get complicated at that point.
- PreReqs -
- Hugo installed on your local computer with the theme installed
- This requires a local install of git
- Visual Studio Code installed on your local computer
- An Azure subscription
- When you setup an account you get $200 in free credits to play with
- Enable the Static Website Functionality Of An Azure Storage Account-
- Log into your Azure account at portal.azure.com
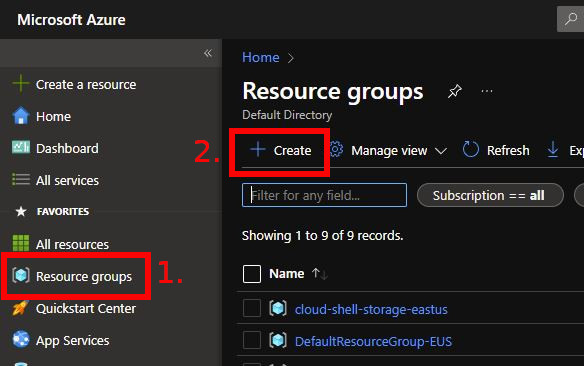
- Navigate to Resource Groups
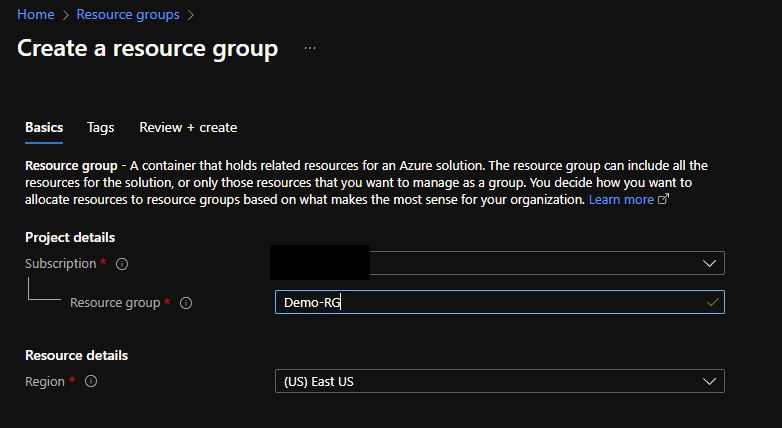
- Create a new Resource Group to host your static sites
- Navigate to Storage Accounts
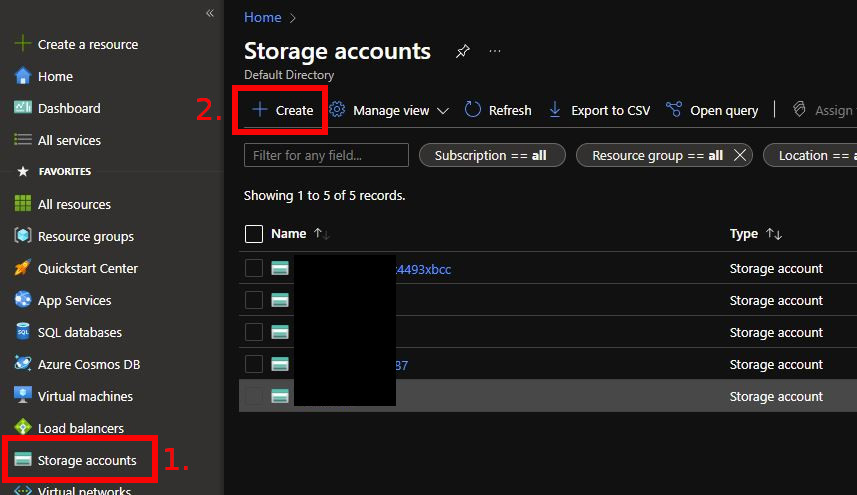
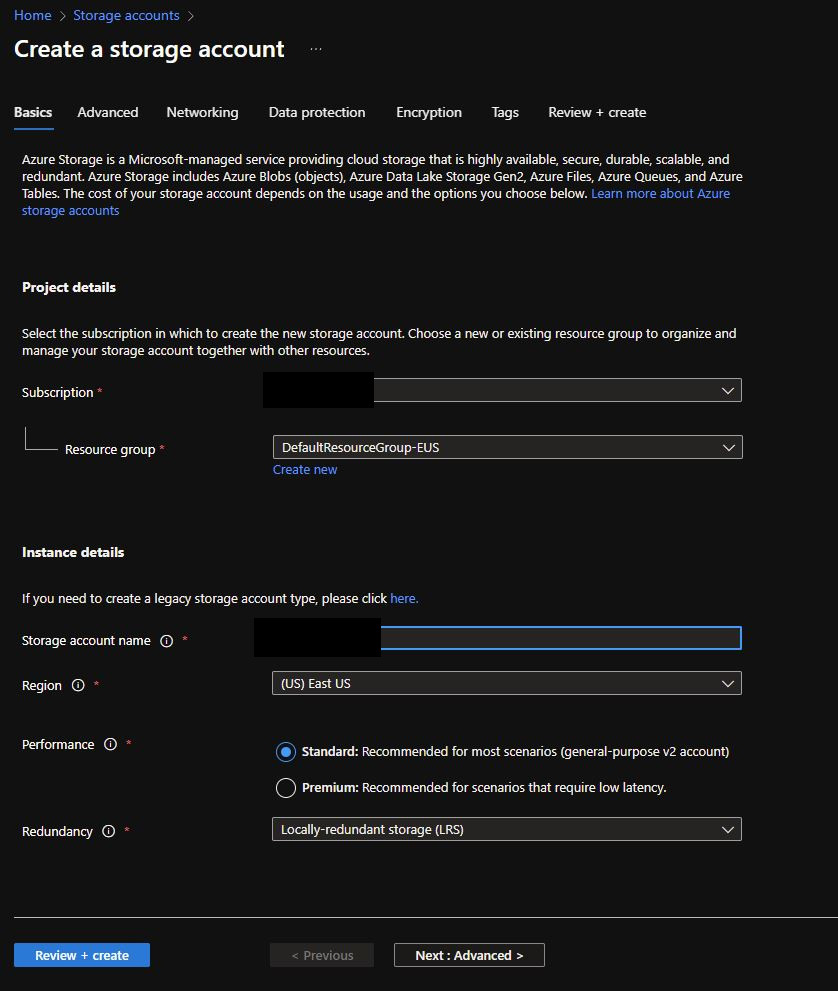
- Create a new Storage Account and add it to the Resource Group you just created.
- The name must be unique to all of Azure
- Standard Performance is more than sufficient (and cheaper)
- Set Redundancy to Locally Redundant Storage (LRS)
- Leave the Defaults for everything else
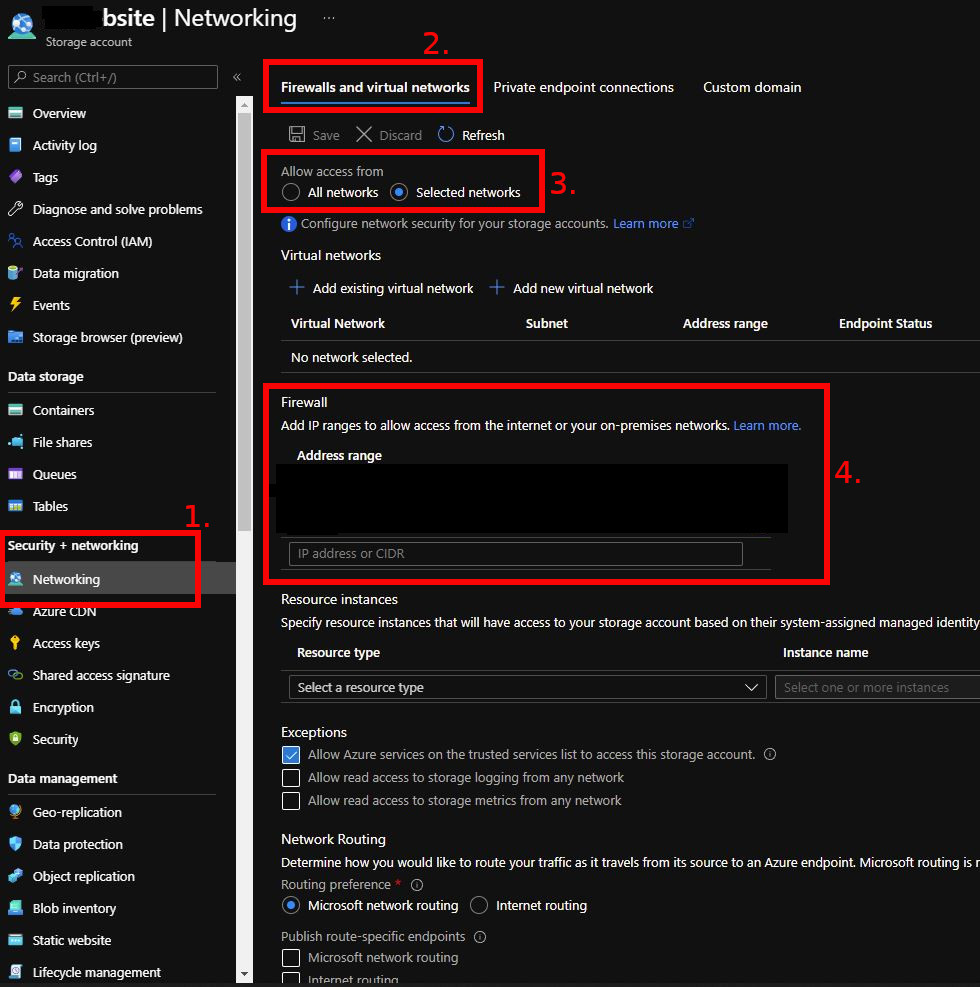
- Navigate to the Storage Account you just created above and go to the Security + Networking Pane then select Networking
- Set The Firewalls and Virtual Networks to only Allow access from “Selected Networks”
- Then add your IP address under the Firewall Section under the “Address Range” Section. If you don’t care who sees the website then you can set it to “Alow All Networks”.
- If you want to add your custom domain you can do it here under the “Custom Domain” Tab but I wont cover that here.
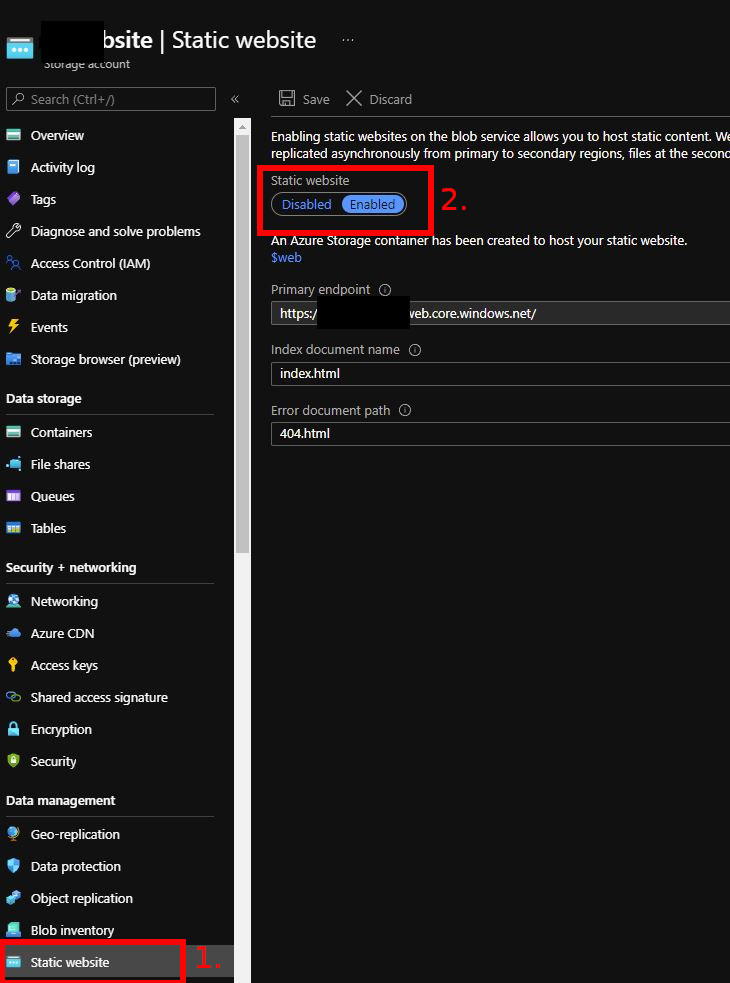
- Navigate to the Storage Account Data Management Pane then select Static Website
- Toggle to Enabled
- Set the Index document name to index.html
- Set the Error document path to 404.html
- Take note of the Primary Endpoint URL. This will be the website URL if you arn’t using a custom domain name.
- Setup Visual Studio Code -
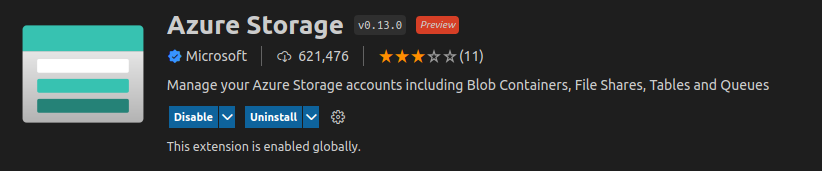
- Open Visual Studio Code and Navigate to extensions
- Install the “Azure Storage Extension” from Microsoft
- Login to your Azure Subscription
- Login to your Azure Subscription
- Build Your Hugo Site -
- Build you Hugo Site by navigating to your local website Directory
cd yoursitename hugo - Hugo will no generate the static site content and place that into the “public” folder under yoursitename
- Deploy To Azure Storage Account -
- In Visual Studio Code, Open the Hugo folder (yoursitename)
- Right click the “public” folder and Right Click it, then select “Deploy to Static Website via Azure Storage…”
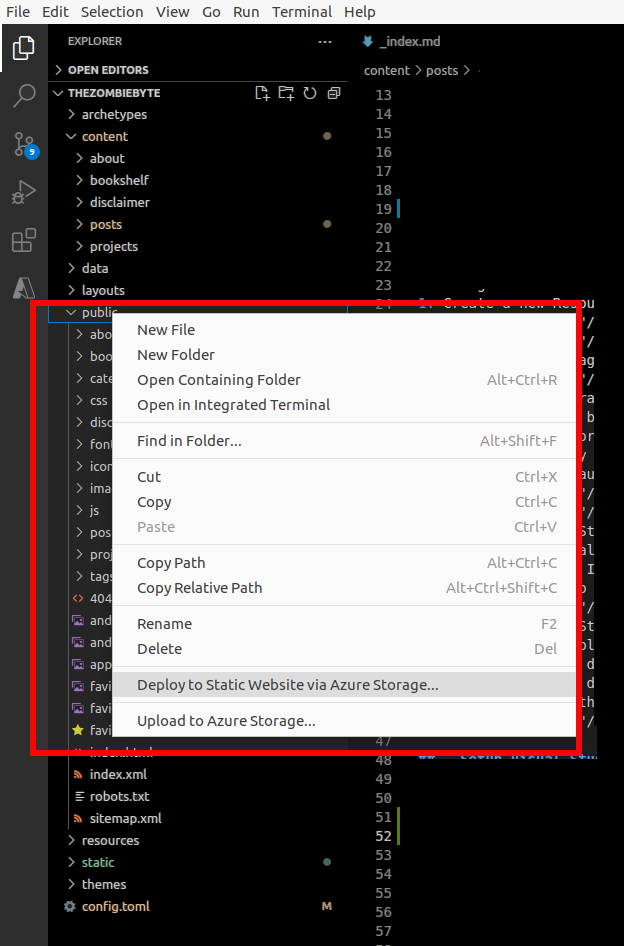
- After a few moments the files will be uploaded to the $web folder on the Azure Storage Account and you can browse to the site via the Primary Endpoint URL you noted earlier!
- Primary Endpoint is in the format of https://storageaccountname.zone#.web.core.windows.net/
- Rinse and Repeat if you need to make quick changes to the site and have the site update on the storage account.